This article will show you how to replace the fan switch on the Volcano classic vaporizer for less than $20 using parts easily found online.
The Volcano Classic Vaporizer is one of the most reliable desktop vaporizers on the market, and I’ve been using mine daily for more than a decade. However, I recently noticed my fan switch was starting to go out, and it was likely to fail over the next couple of weeks, so I decided to replace it myself.
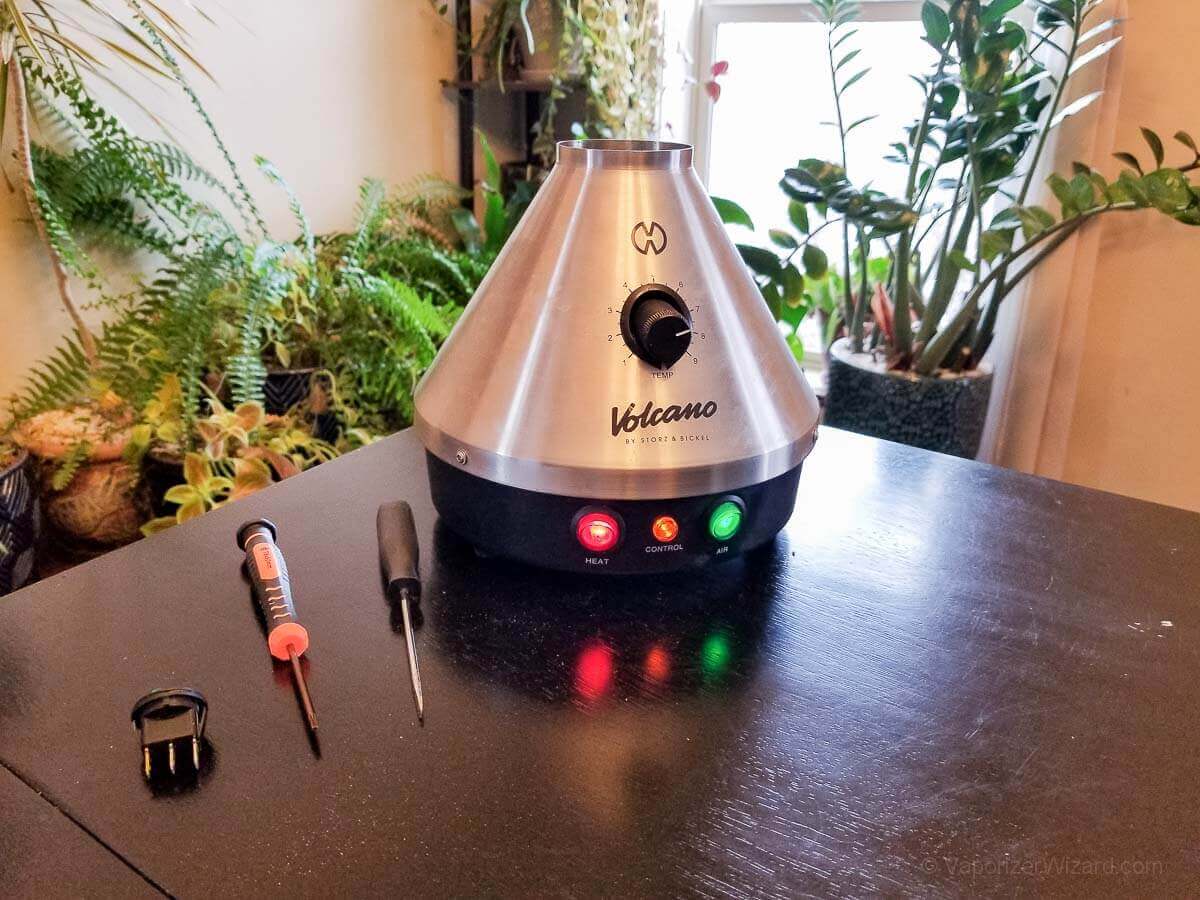
What You Need:
- Volcano Classic Fan Switch – $8.49
- T8 Torx Screwdriver – $6.59
- Compressed Air Can
- Vacuum Cleaner (for dust)
- Flathead Screwdriver (small size)
Time to Complete: 15-20 Minutes
Level of Difficulty: Easy-ish
The Volcano Classic uses standard industrial parts, so you can often find them cheaply online. I ended up paying $8.49 for the switch ($13.14 with shipping), and I also picked up a T8 Torx screwdriver for $6.59 with shipping for a total of $19.73. I also used a can of compressed air, a vacuum cleaner to clean out the dust, and a small flathead screwdriver to help separate the switch connectors. Once you have all the needed supplies and 15-20 minutes of free time, you are ready to dive in!
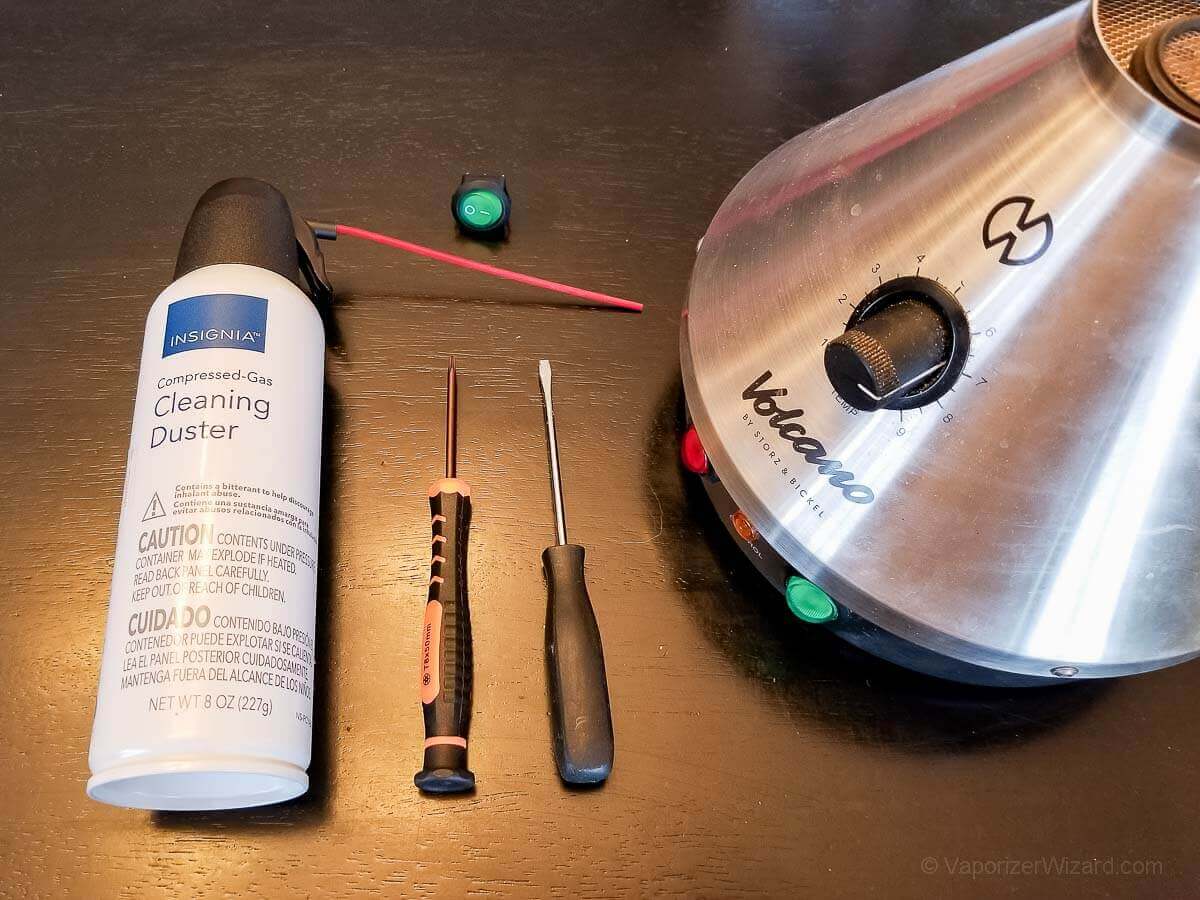
This photo shows everything I needed: Volcano Classic replacement fan switch, air duster, Torx t8, and a small flathead.
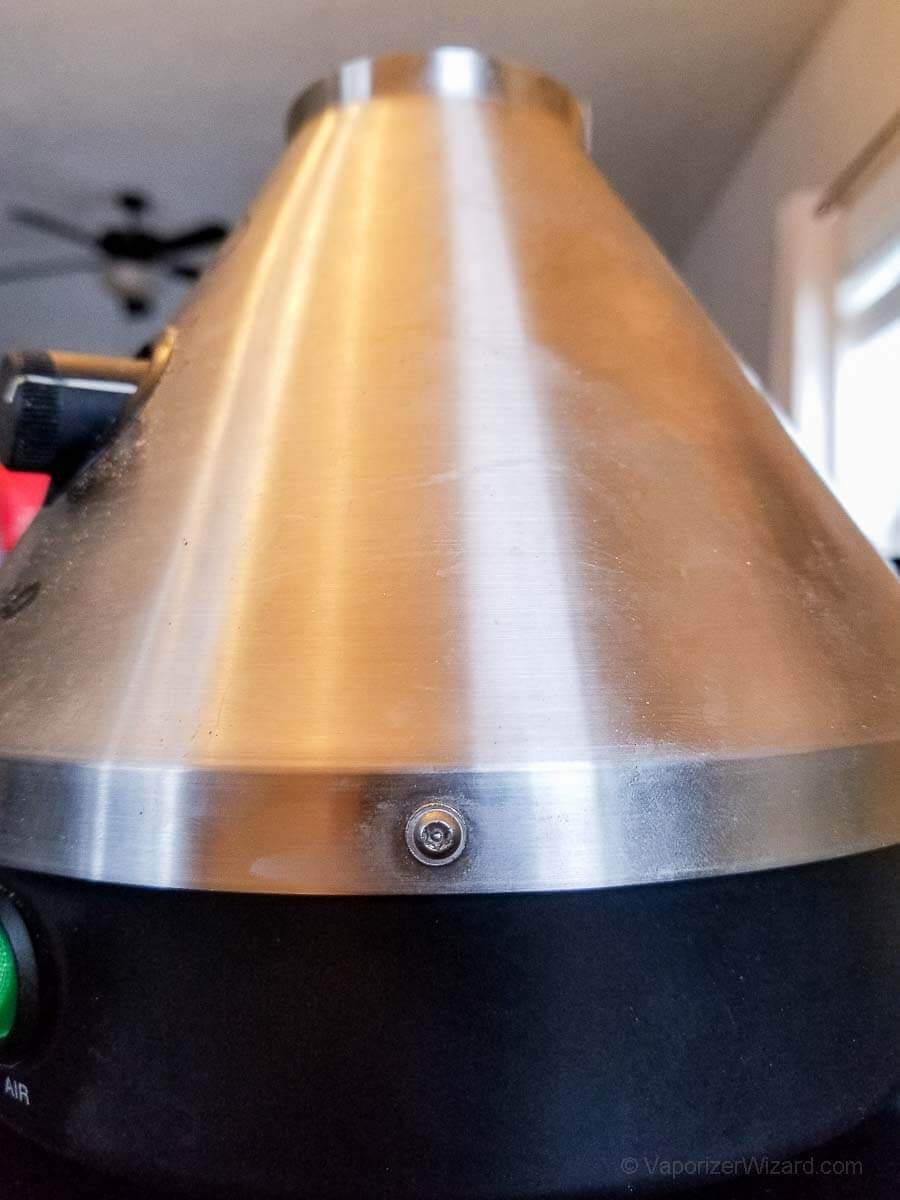
Here is a photo of the Torx T8 screws. I didn’t have a t8 screwdriver around, so I had to purchase this.
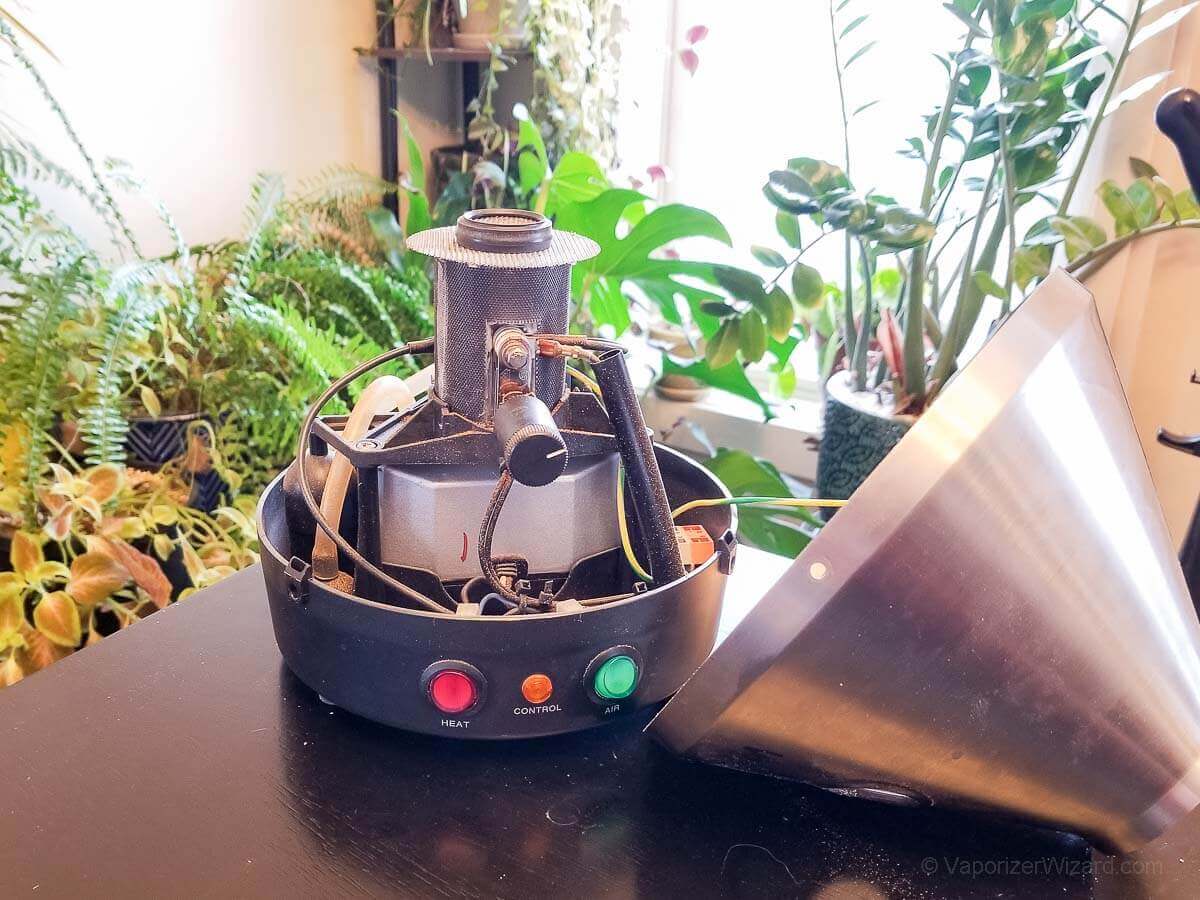
To remove the lid, remove all three Torx screws, then gently lift the stainless steel cover by first lifting up on the back. (Check out photo 15 if you are having trouble removing the cover) When you pull the cover off, you will be lifting up and forward so that it doesn’t get stuck on the temperature knob.
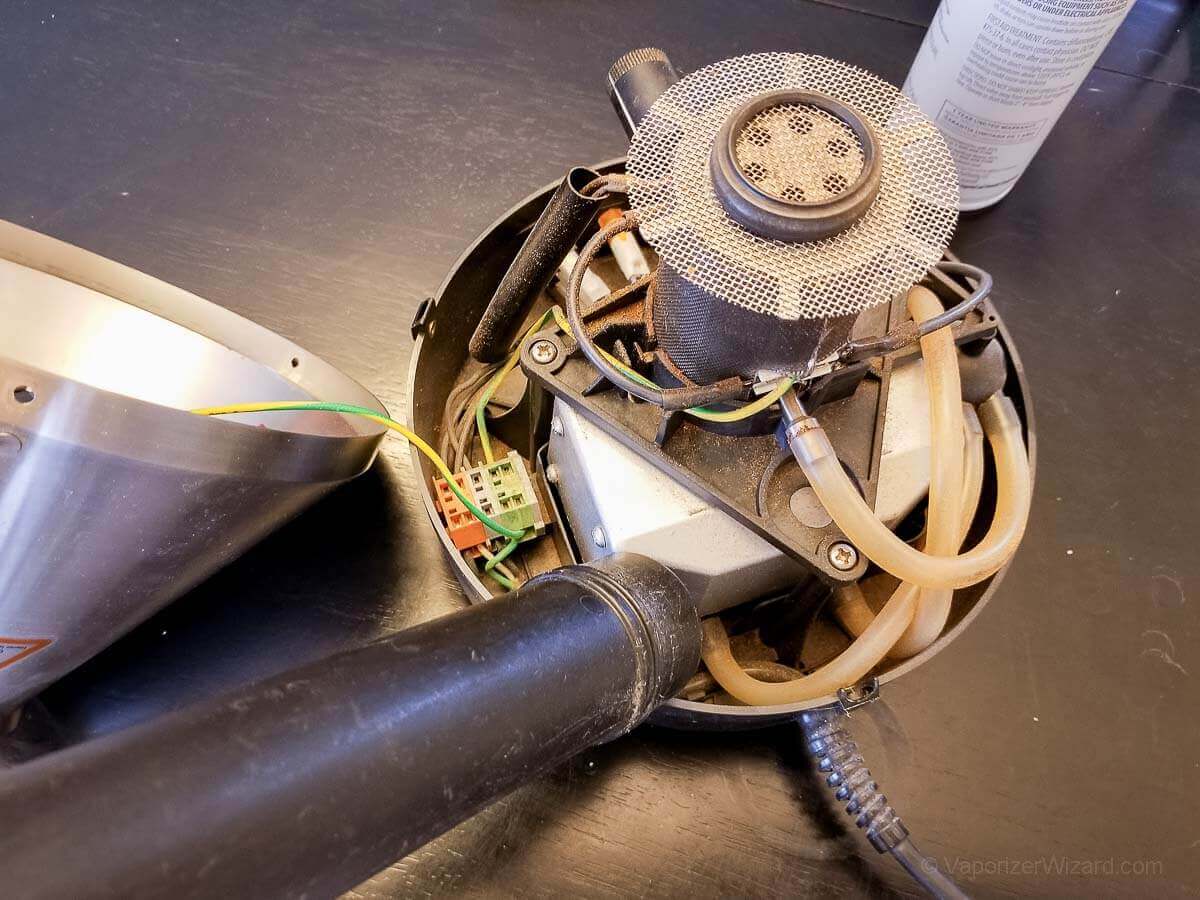
Take a quick look around the inside and decide how dirty it is and how you want to clean it. Mine was reasonably dirty, so I started by using the vacuum cleaner to remove most of the loose dust and particles.
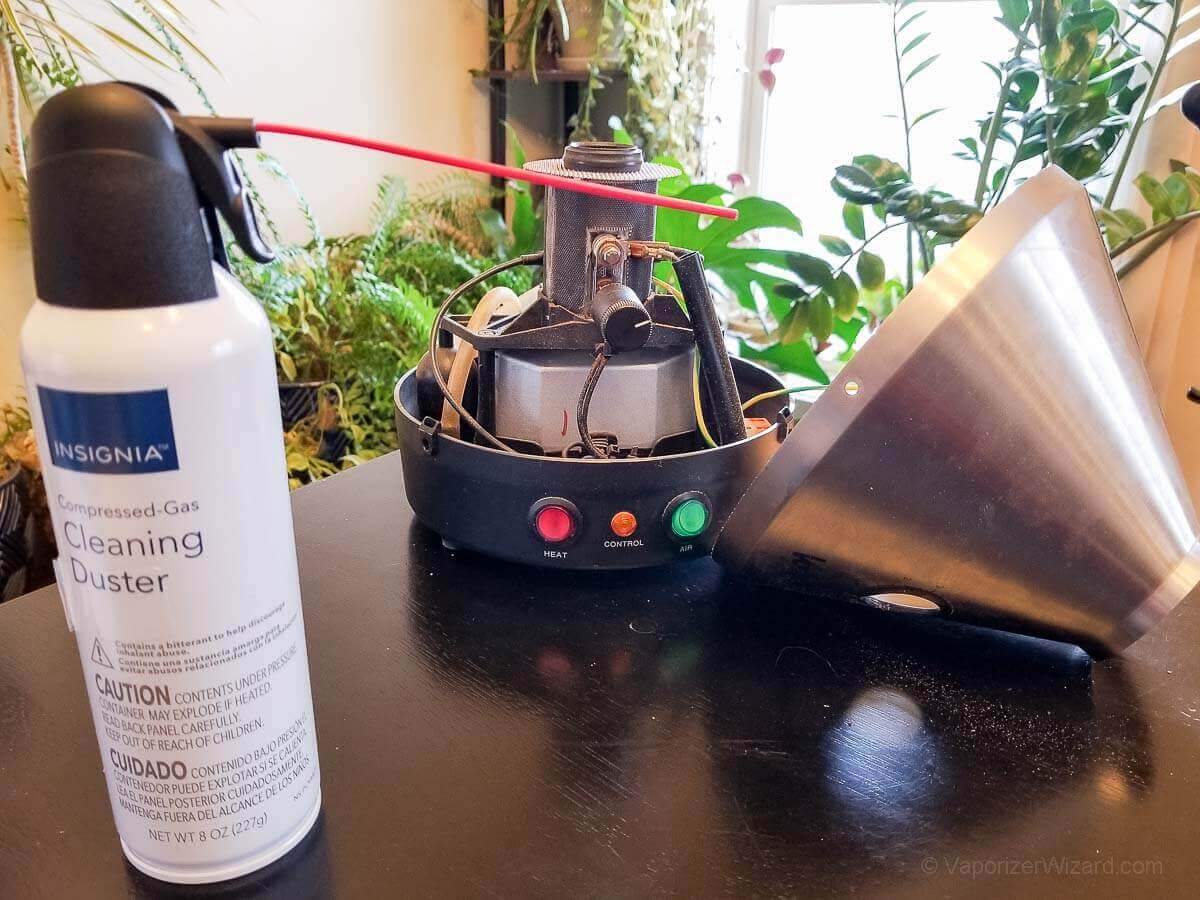
After getting most of it cleaned up with the vacuum, I used the compressed air can to blow out most of the rest.
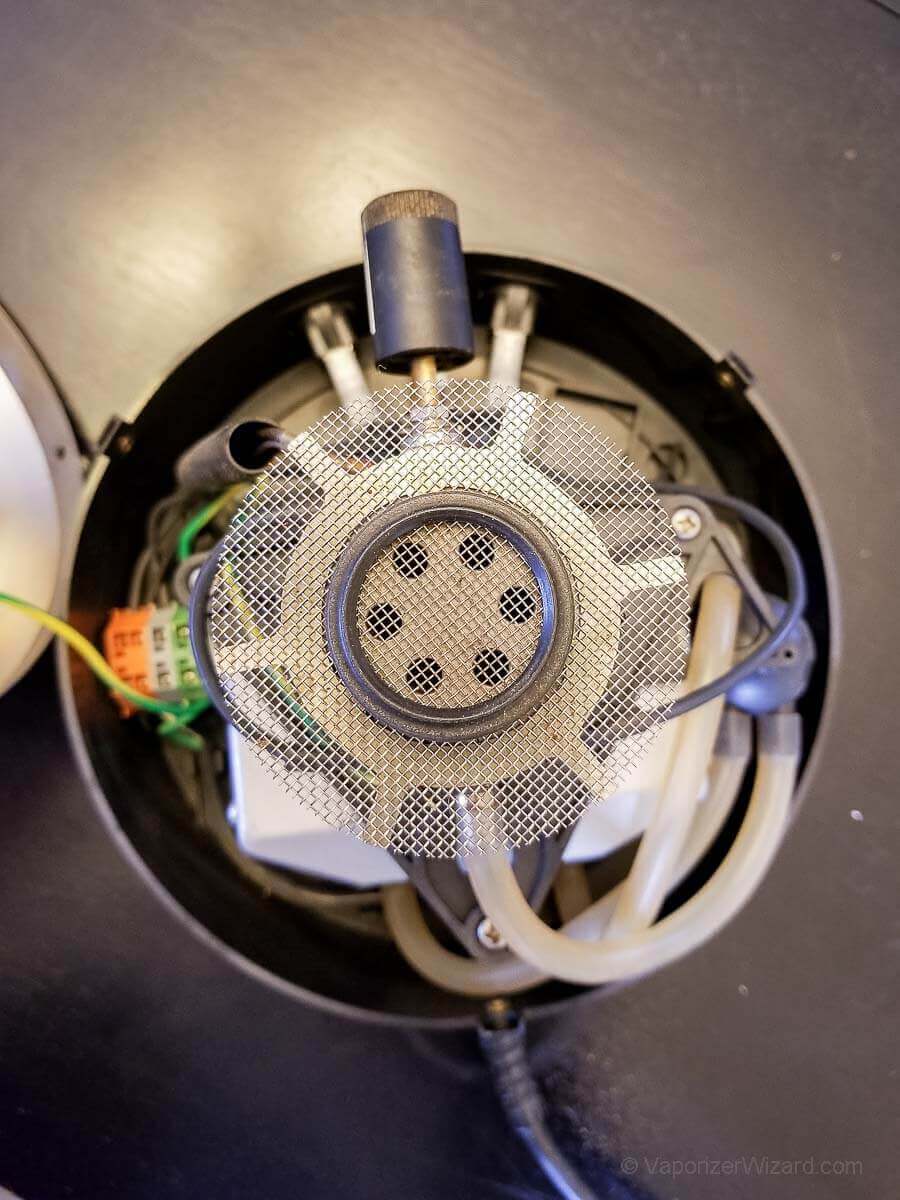
It doesn’t need to be spotless, so I felt happy getting it mostly clean. Now is a good time to give it a quick inspection. Make sure nothing got banged, misplaced, or unplugged while you were cleaning it.
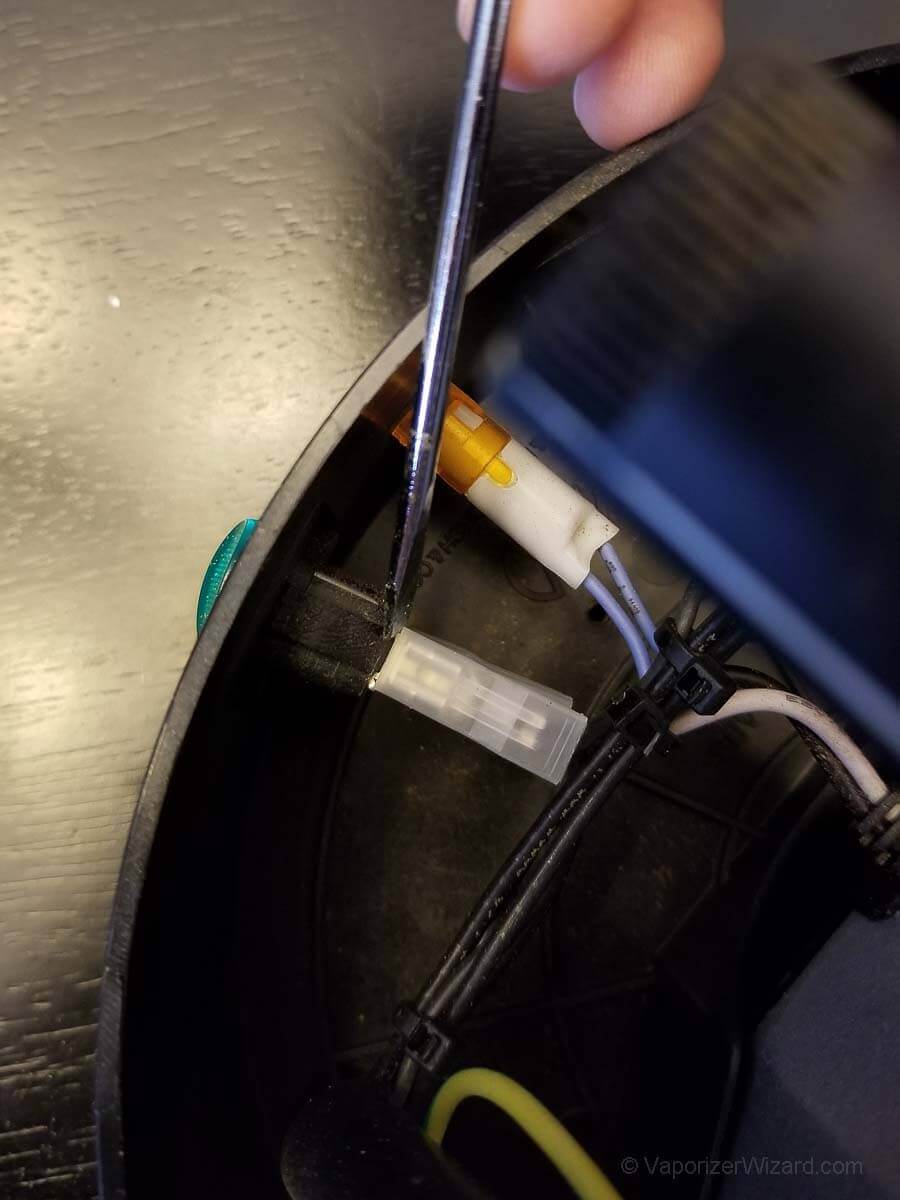
Now it’s time to start replacing the switch by removing the old one. A small flathead screwdriver works great for separating the three connectors from the switch.
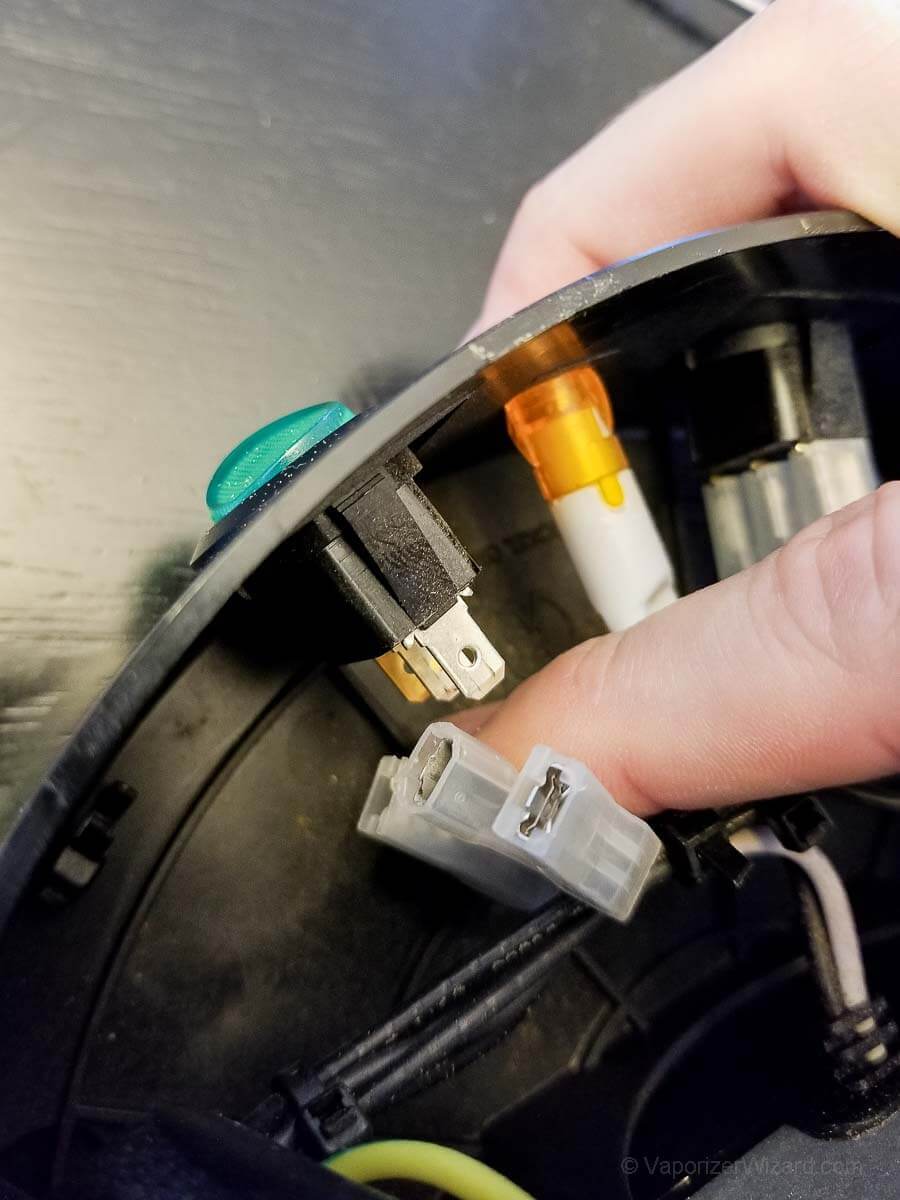
All three connectors have been removed (Make sure to keep them in the same order for when you put in the new switch)
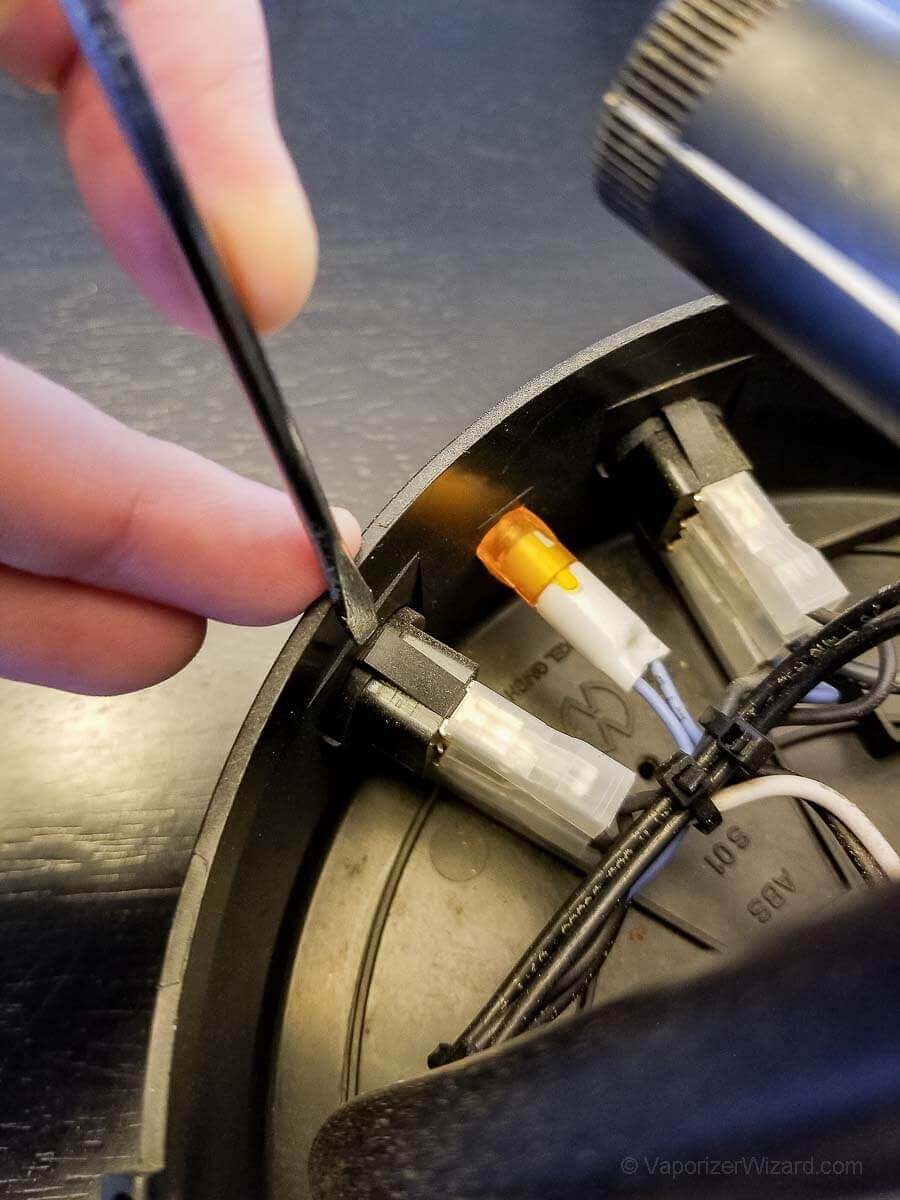
To remove the switch itself, you will want to take your flathead screwdriver, press down on the plastic piece that holds it in place, and then slide the switch out towards the front of the unit.
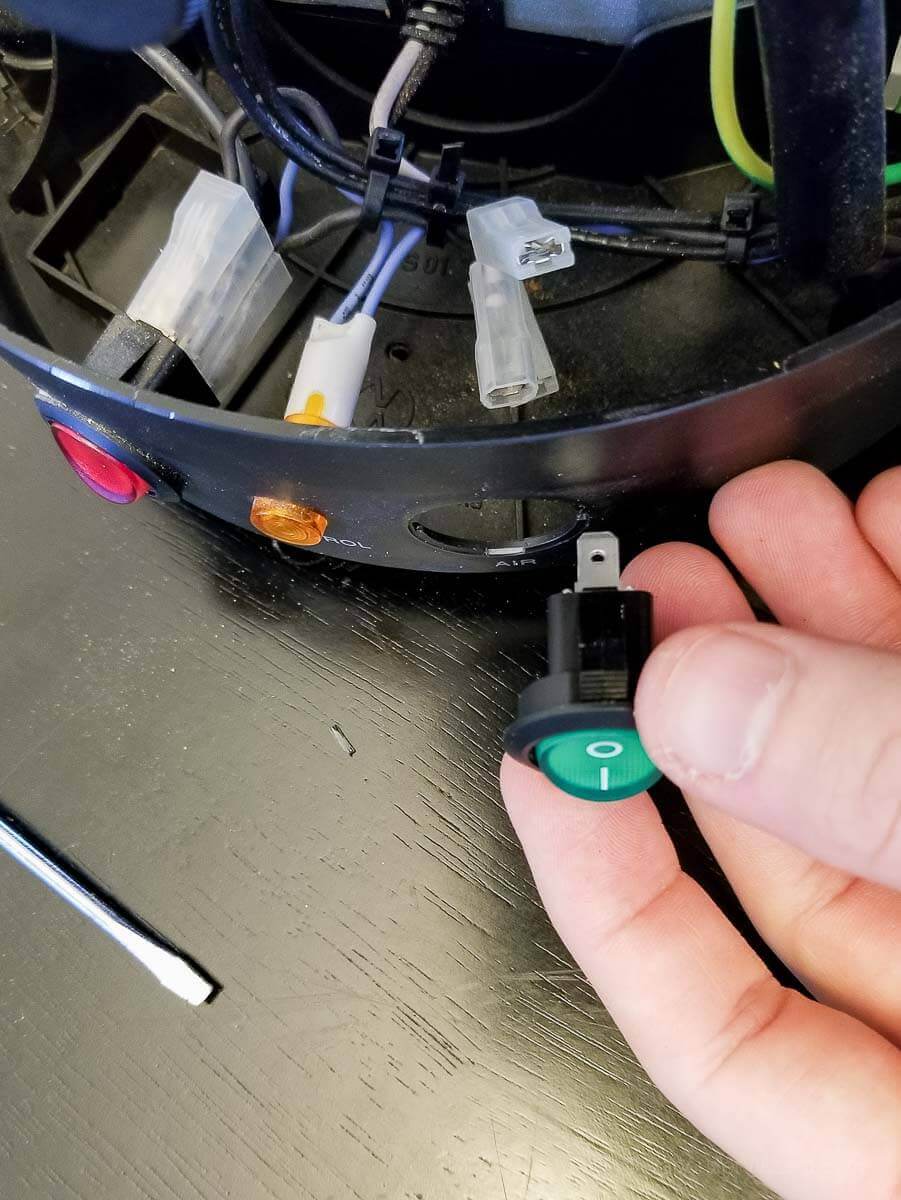
Now you will completely remove the original switch and replace it with your new one (My original switch had no markings on the button, but the new one has a 1 and a 0 for on/off)
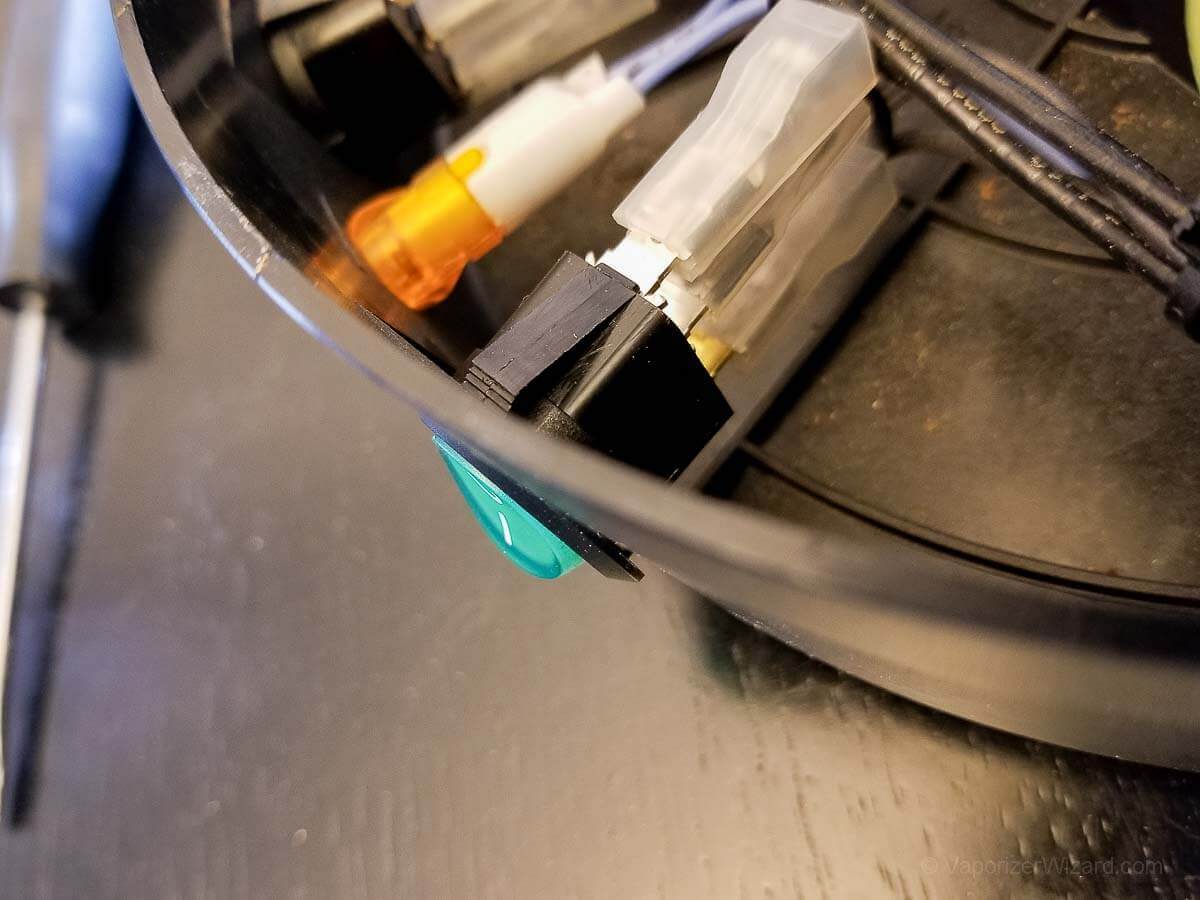
When the switch is back in the unit, it’s time to reconnect all three connectors making sure to keep them in the same order that they were removed.
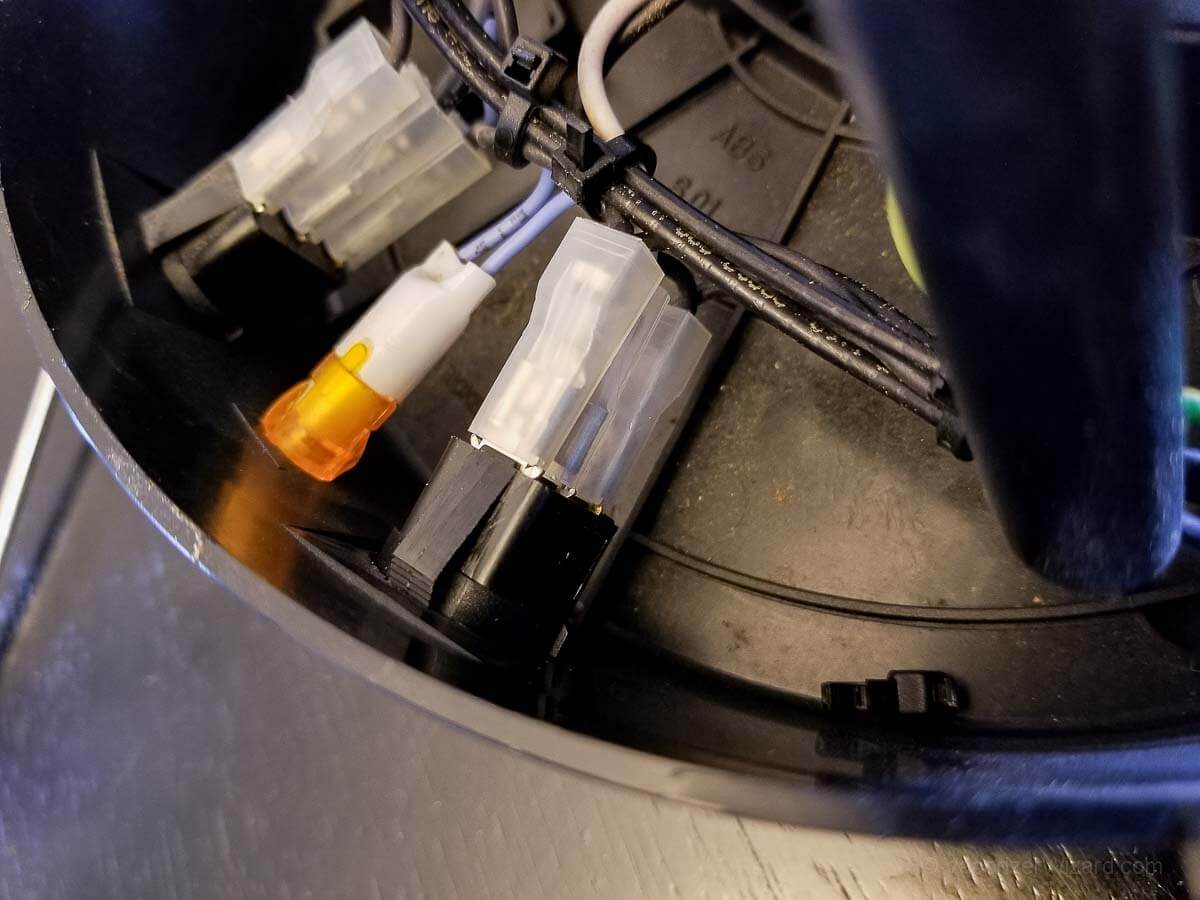
Verify the button is securely installed and that all three connectors are completely plugged in as well
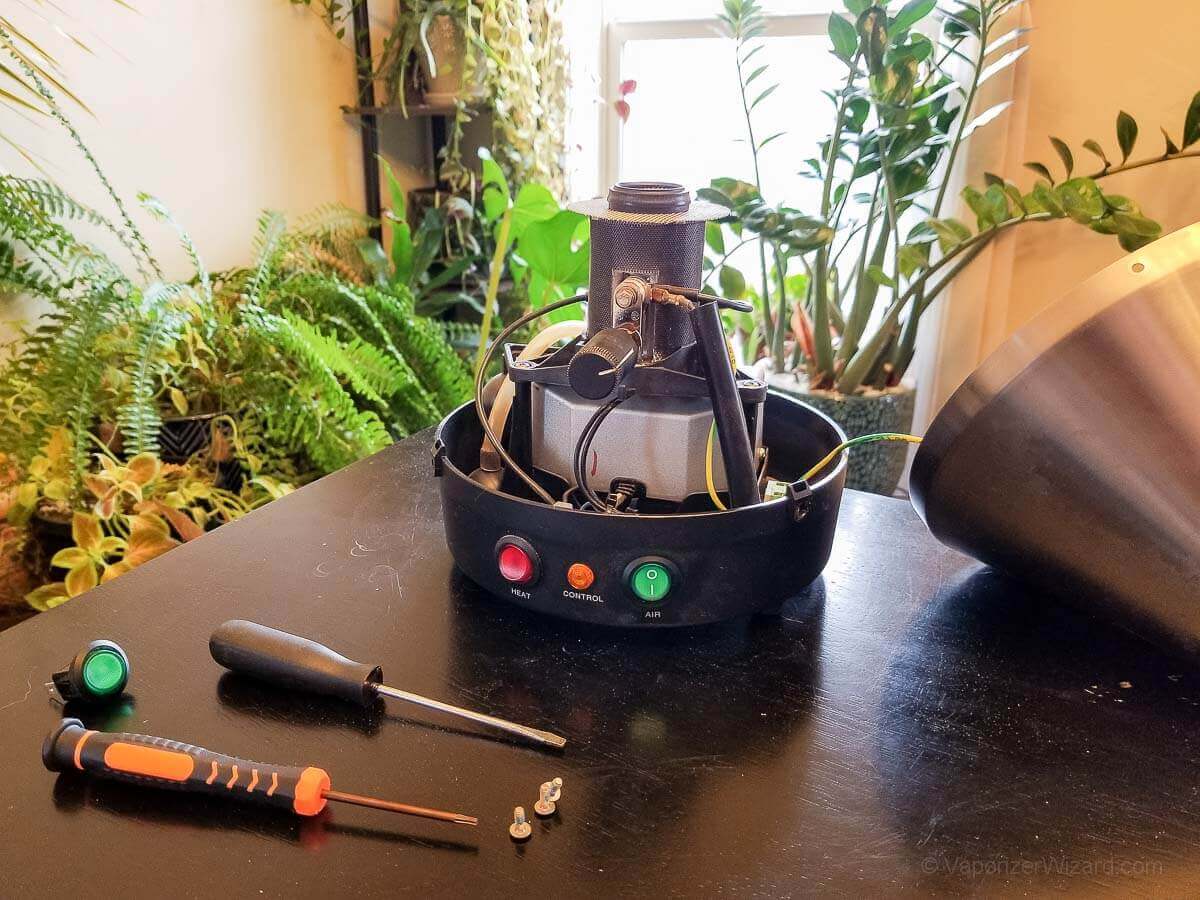
Now that the switch is back in and fully connected, give the Volcano a quick glance and make sure everything looks correct, no wires or tubes are pinched, and then it’s time to plug the unit in to verify it works before sealing it all back together.
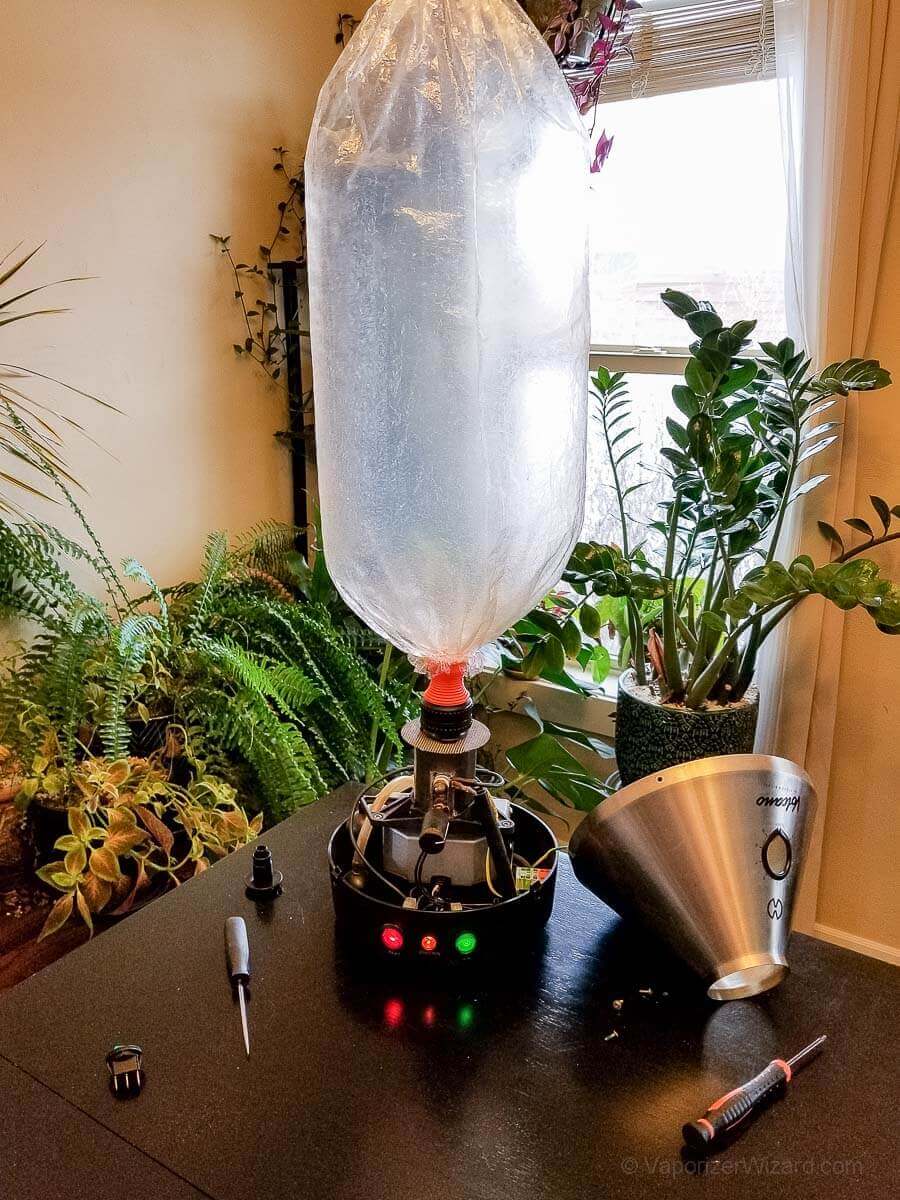
Everything works! Now unplug the unit again before installing the cover.
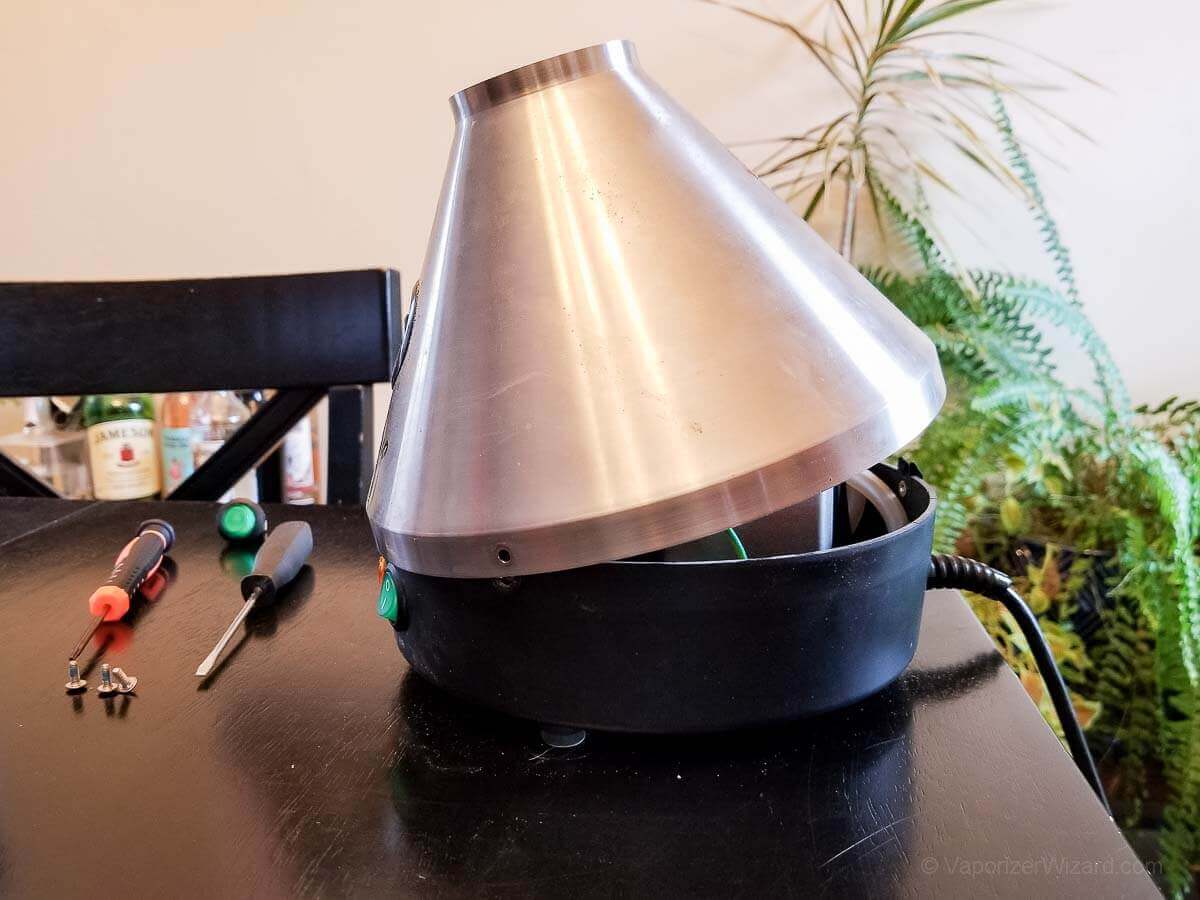
Time to re-install the cover, making sure to put it back on in the opposite direction as removal. So you will start with the front making sure to get the temperature knob through the hole before pushing the rear of the cover down. Once the lid is on, make sure to replace all three of the Torx screws.

Now that the lid is on, it’s time to plug the unit back in and verify it works one last time. If everything works, you have successfully changed your Volcano switch.
Overall, replacing the Volcano Classic fan switch myself turned out to be a cheap and easy fix.
Between the Volcano being so reliable and replacement parts being cheap, common, and easy to replace, this makes the Volcano even better than it already was in my book. It took me about a half-hour to replace everything, including the time to take photos along the way.
I generally only turn my Volcano ON at the start of the day and OFF at the end of the day. So the red power switch gets less use—the green fan switch gets flipped on and off for every bag throughout the day. I imagine the red switch will outlast the new green switch.
Hopefully, this new switch gives me another 12 good years of use like the last one. If only every vape were this cheap and easy to repair at home!
